File Management
The system allows users to upload files to support data entry, reporting, or documentation purposes. This feature ensures that relevant documents, data templates, or supporting evidence can be stored and accessed within the platform.
Steps to Upload Files
- Navigate to the Utilities menu and Click on File Manager section in the system.
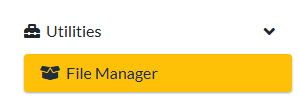
Figure - File Manager Menu Location
- Click the Upload button to select the file from your device.
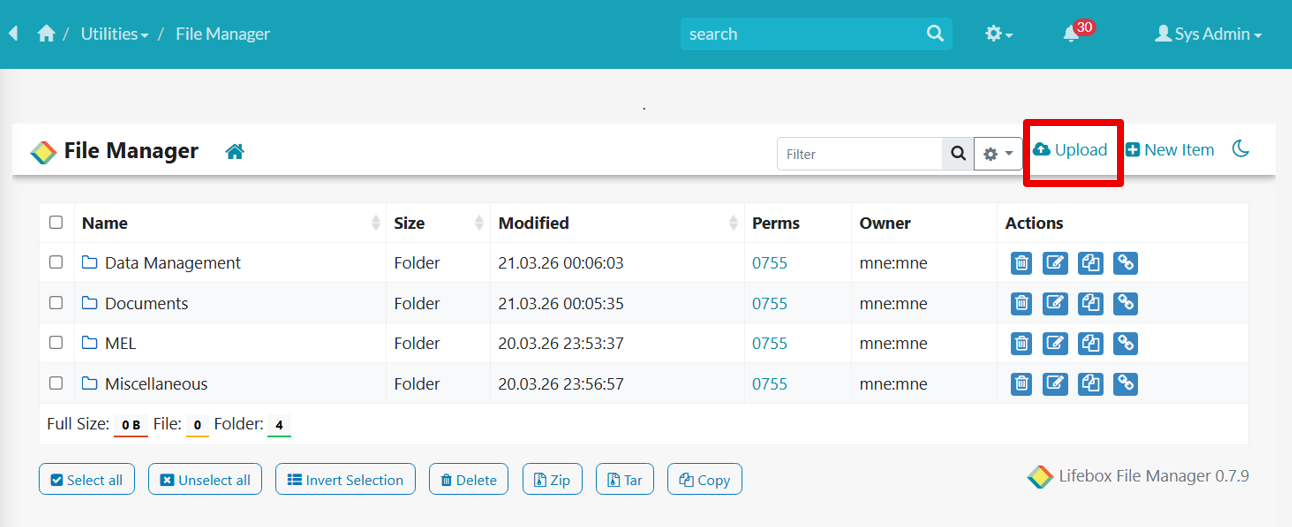
Figure - Upload Menu
- Select the appropriate file type and destination (e.g., XLSX, CSV, PDF, DOCX). Then you can drag and drop or click on the area to open the File Explorer so that you will be able to select and upload the permitted file types.
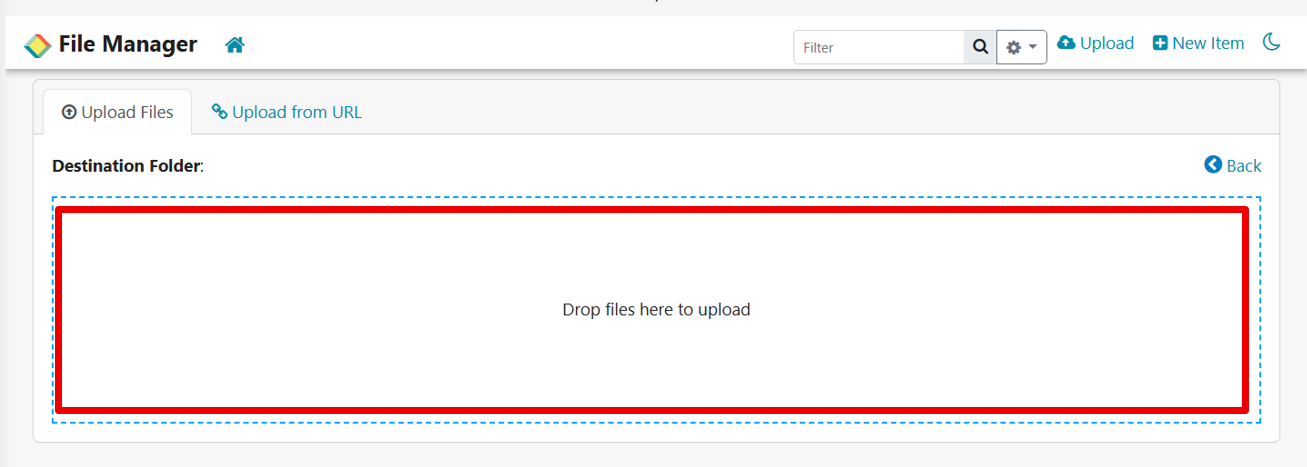
Figure - File Upload Area
- Once Uploaded you will be able to open, share or view the document uploaded in the system by clicking on the file name.
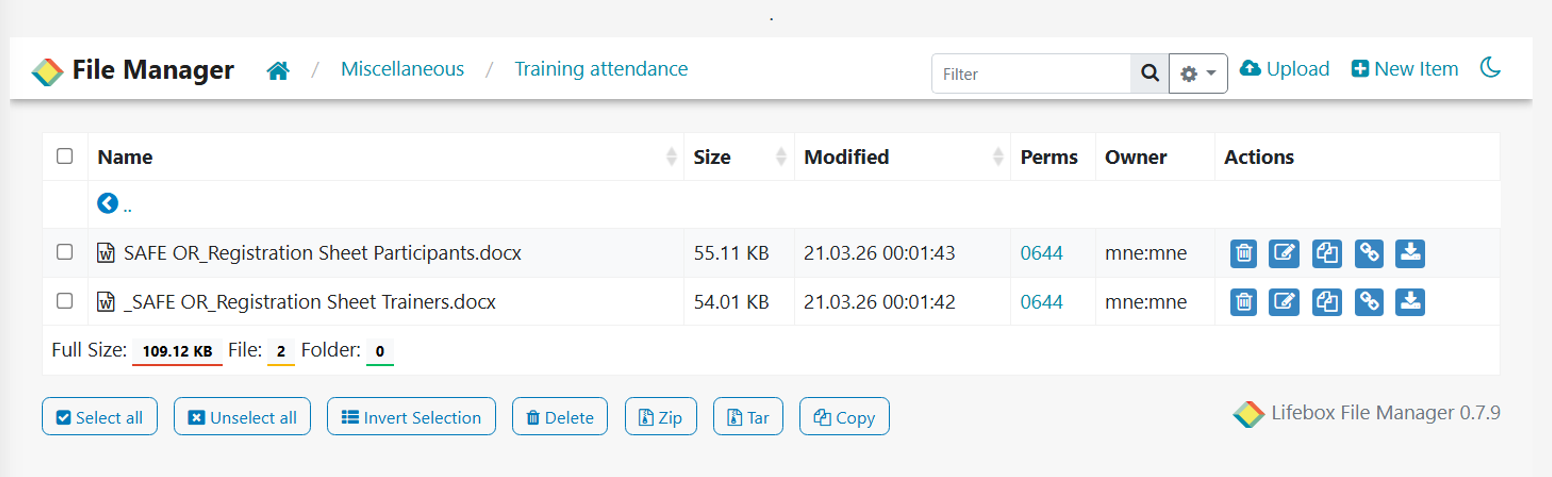
Figure - File Manager Menu Location
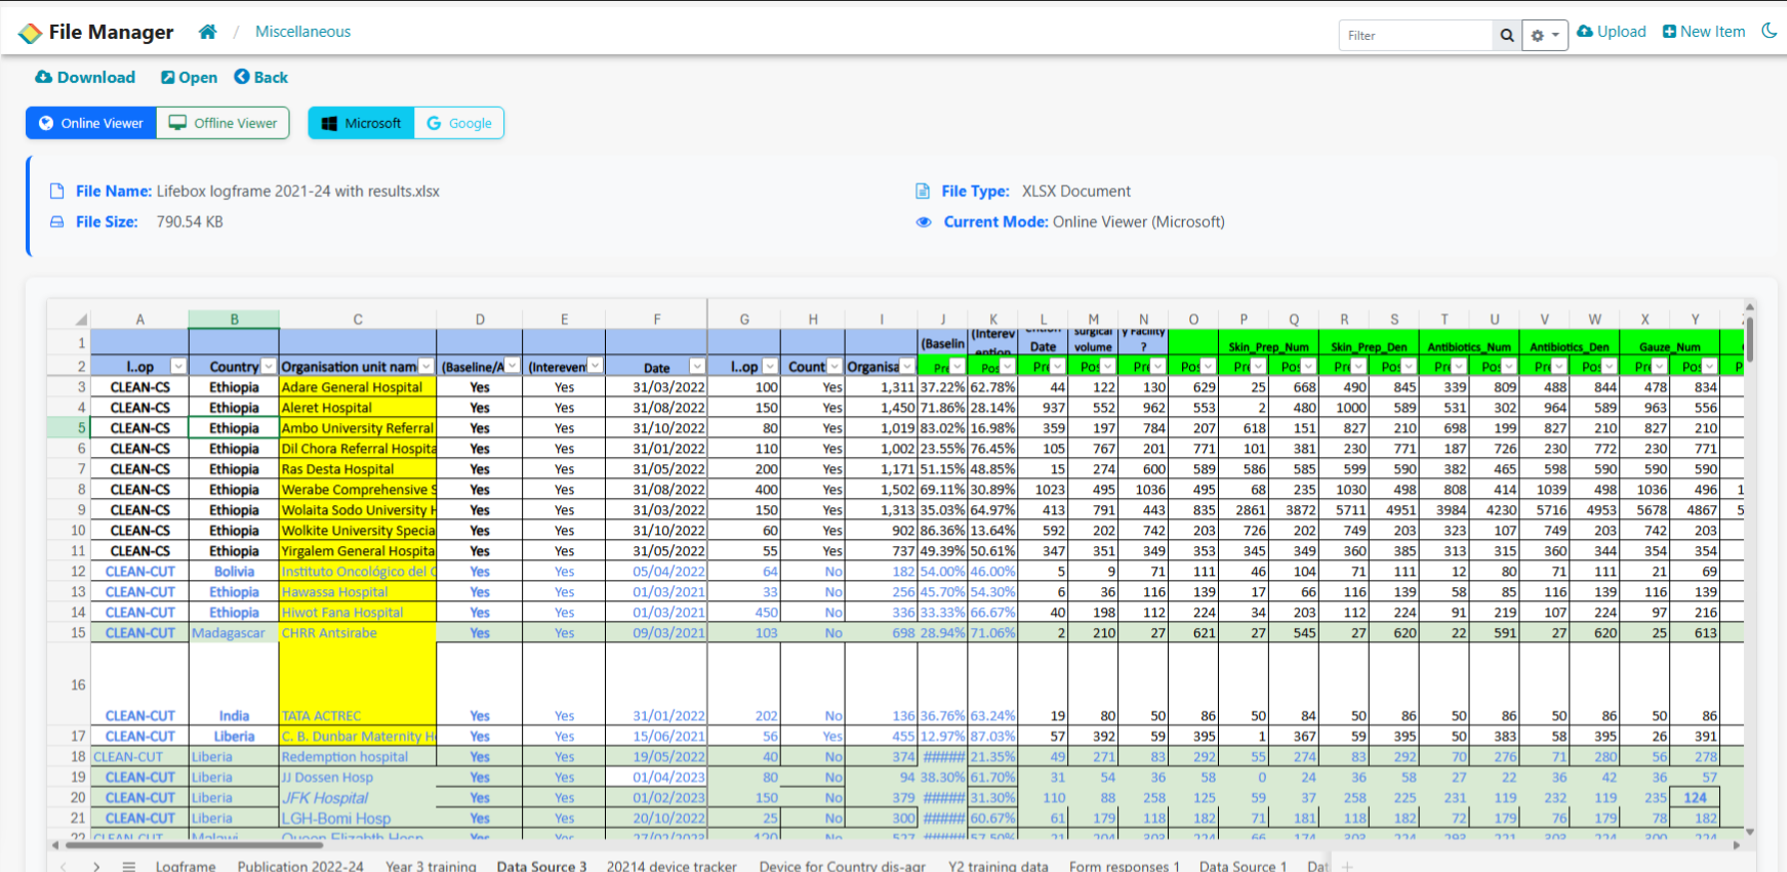
Figure - Example Document Preview
Here You will also be able to change the file viewer Either Offline or Online Using Microsoft or Google Document Viewers.
Steps To Create New Files/Folders
- Navigate to the Right Folder or Directory you want to create the item at and Click on New Item on the Right Corner of the Application then a Window with Document Types for you to create and to Name the file/folder you have created.
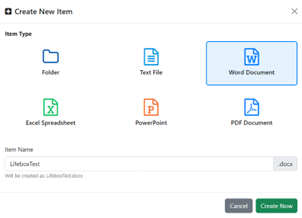
Figure - Folder Creation
Figure - File Creation
- After Creating and entering the name of the item Click on Create Now and an Empty Document/Folder will be created with the item name you just entered.